Showing posts with label holiday. Show all posts

Tuesday, December 17, 2013

STOVE-TOP VEGAN PUMPKIN PIE FILLING

After selecting & combining 4 recipes, plus adding a bit of my ingenuity I 'accidentally' came up with my perfect vegan pumpkin pie filling. Since my husband does not tolerate wheat gluten & I never really cared for pie crusts, I decided to forgo the pie & create a nice holiday pumpkin pudding.

I thought it would be simple - I'd just follow my chocolate pudding recipe making a few substitutions. But low & behold, an hour after I refrigerated my 'pudding' I discovered a consistency of pumpkin pie filling: firm & slice-able. I'm guessing that cornstarch becomes activated either by cooking over the stove or in the oven. So - for Christmas, it's back to pumpkin pie.

You can use any type of crust you'd like. I haven't decided if I'm going to opt for a gluten-free crust or combine nuts & dates to form the crust. I'll let you know later.

Here's my vegan pumpkin pie filling recipe:
Tip: Use exact amounts.
2 c canned pureed pumpkin (or freshly steamed pureed pumpkin) 
1 c soy creamer
1 T molasses
1 level T orange marmalade
1/2 c fructose
1/4 c cornstarch
1 t ground cinnamon
1/2 t salt
1/2 t ground ginger
1/4 t ground nutmeg (can be freshly grated)
1/8 t clove

Whisk together 1st 4 wet ingredients in cooking pan that you will be using later (no heat).
Whisk together remaining 7 dry ingredients in separate bowl.
Add dry ingredients to wet ingredients using whisk.
Turn on stove to a medium-high heat.
Bring to boil whisking almost continuously.
Reduce to medium heat to continue medium boil for additional 6 minutes or until ingredients have thickened.
Tip: Cooking too little the filling won't set; cooking too long the filling will be rubbery.

Pour in cooled prepared pie crust.
Refrigerate for at least 4 hours or overnight.
Slice & serve each slice topped with a dollop of soy whipped cream & a sprinkle of ground filbert nuts. I'll be sure to add a finished pic after the holidays. :)

 Whisk dry & wet ingredients in separate bowls.

Here's a pic of what I thought I was making... pumpkin pudding!

By the way, my husband just informed me that I should enter my recipe in the county fair next year! 
What a compliment!
Wouldn't that be a fun surprise when I enter my gluten-free, no bake, vegan pumpkin pie recipe! 


Thursday, December 20, 2012

What's Christmas without -
The Best Gingerbread Cookies!


Here is the best gingerbread cookie recipe I've found. Originally found on the Williams-Sonoma site over a decade ago, I had to tweak it to make it my own. Preparing this holiday treat has definitely become one of our family traditions. I like to share the baked cookies with friends & family & let them do their own decorations.


Prep & Cook Time: About 1 ½ hours, plus 1 hour to chill (I prefer to chill in refrigerator overnight.)
Makes: About 2-3 dozen delicious 3-4 inch cookies.


¾ C molasses
½ C oil
1/3 C firmly packed brown sugar
1 large egg (I use egg replacer)
2 ¾ whole wheat pastry flour
½ t sea salt
1 T baking powder
1 T cinnamon
½ t cloves
1 T ginger - I use finely grated fresh ginger root. Be careful not use the core, which is too fibrous.  Press ginger between toweling to remove excess moisture. I find using the real ginger root the cookie has more zing. You will have tiny fibers sticking out of the cookies, which doesn't bother me too much - I think it's a good trade-off for the flavor. If using the root, use 1 1/2 to 2 T


Beat w/mixer molasses, oil, brown sugar & egg (or egg replacer) until well blended. Add grated ginger if using root.

Mix flour, salt, baking powder, cinnamon, ginger (if using ground dry ginger) & cloves.  Stir into molasses mixture, then beat until well blended.

Divide dough in half, gather into a ball, then form into a disk.  Wrap each disk in plastic wrap & freeze for 1 hour or chill in refrigerator overnight. 

Remove dough from bag.  On a lightly floured surface with a lightly floured rolling pin, roll each disk to about ¼ inch thick.  With lightly floured cookie cutters, cut out cookies.  Place about 1 inch apart on greased cookie sheet.

Bake at 350 degrees for 9 min; if using parchment paper, cook for 10 min. 
Cool on cookie sheet for 5 minutes, then transfer cookies to racks to cool completely. 

Enjoy & 5 more days to go...


Tuesday, December 11, 2012

How about Homemade Applesauce?
It's simple - I promise!


I had 6 apples that were given to me by a neighbor - they weren't fresh off of the tree, 
but I still appreciated them & thought I would go ahead & juice them...


... that is until the temperatures dropped to 30 degrees - 
a perfect snowy wintry night here in northern Utah.  

So I decided to make good ol' applesauce - 
what a fragrant aroma & special sweetness brought to my kitchen. 
So, I peeled. 


Then sliced with my special apple slicer. 
Looking back to 7th grade home economics class - this was the 1st recipe we used & I've always been a fan ever since!

I asked my daughter what her 1st recipe was in her class - she told me No Bake Cookies. What do you remember making? 


There they are scrumptious-looking, right, you can just taste the sweetness or tartness.
At this point, you could change your mind & make an apple pie, but I prefer simple tonight.
If you like, you can add a splash of freshly squeezed lemon juice. (I usually don't)  


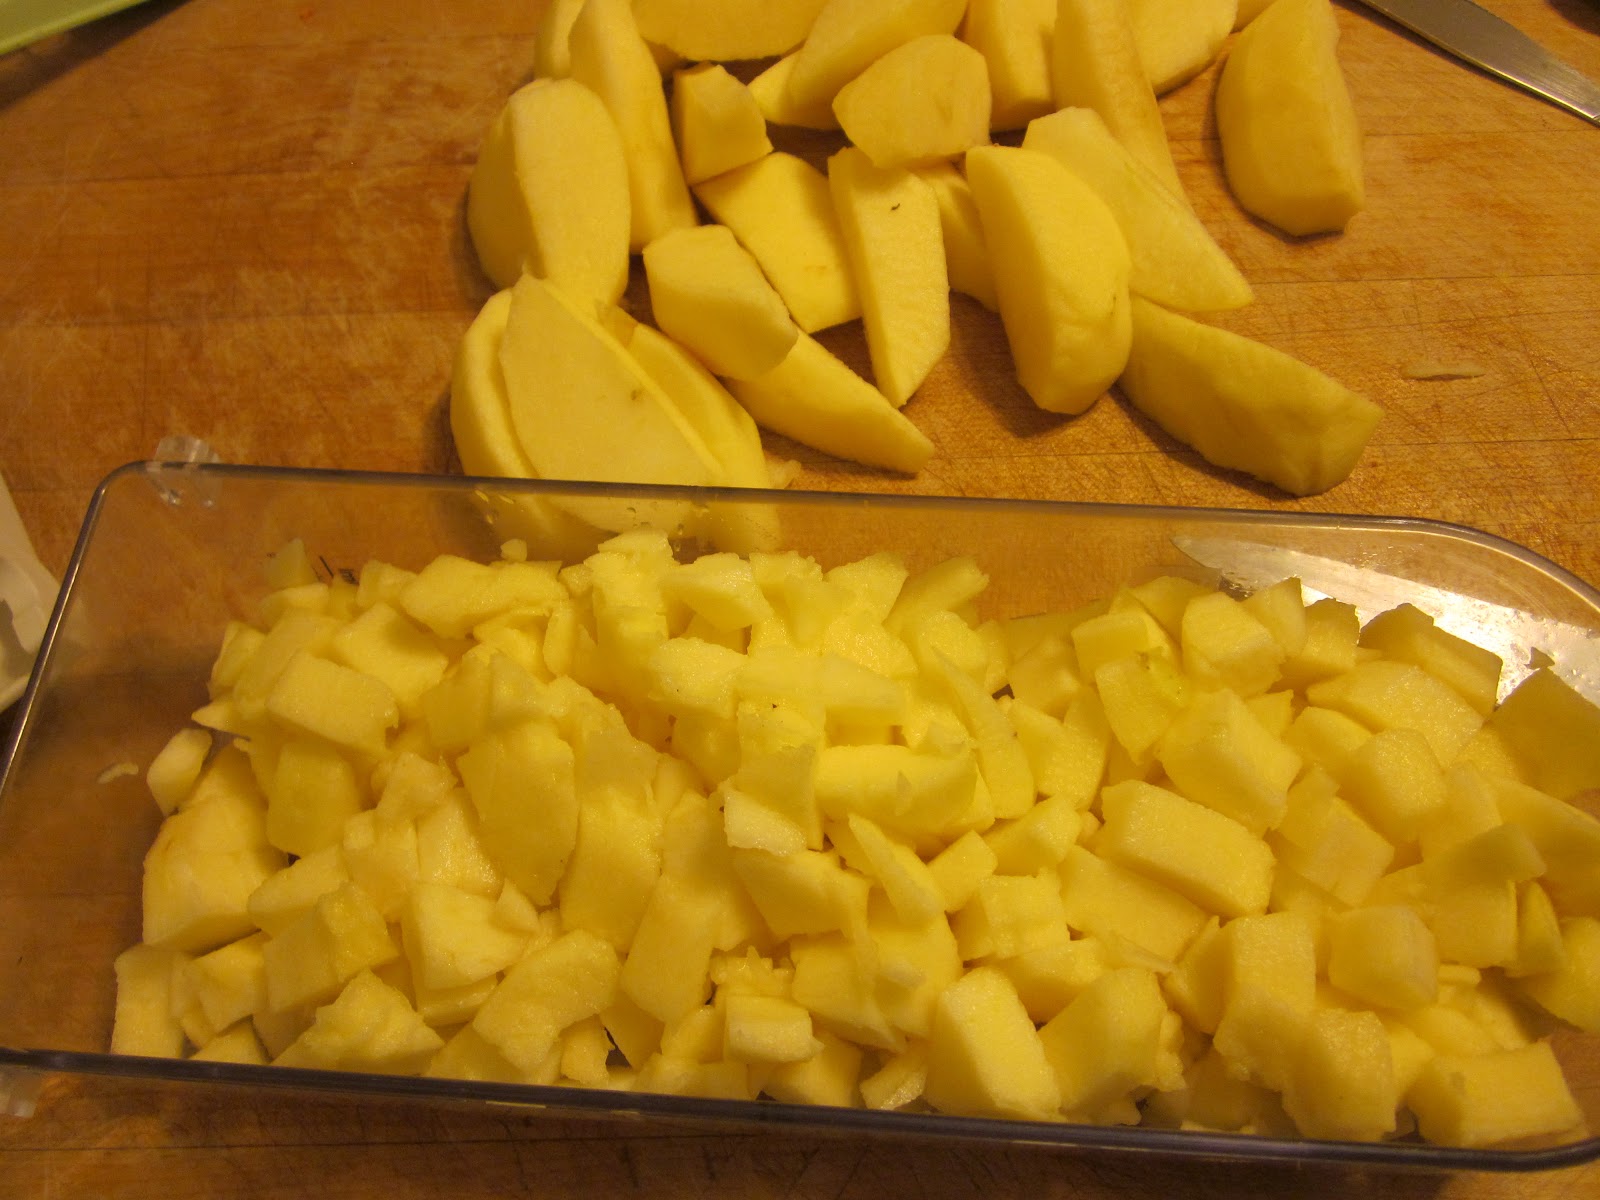
I could individually slice each segment, but that's lots of unnecessary work, so instead, I'll use my handy/dandy hand-chopper. 
This will provide small dices of apple that will cook down rather quickly. 


This is just a interior look at the diced apples for you. 


Place in pot (of course), & add a good sprinkling of cinnamon.
For 6 apples I use about 1/2 t. Also add about an 1/8 c of water. This will vary depending on the apples. Sometimes I just use a few tablespoons of water - sometimes, I'll use up to 1/2 c. 

The first time you make applesauce, you may want to go with 1/2 c water just to be sure. You can always strain off the excess, or uncover & let the extra evaporate. 
 Cover & cook at a slow simmer, about 20 minutes.


Of course you can leave the apples in larger chunks, but I like to use my smasher to break down the chunks even more. 
I do leave a variety of sizes though, just to make it a bit more appetizing & to give it a more home-cooked look. 

If you like, you can mush to a puree too, especially if you're serving a little one.

So, I hear you asking me, "What about sugar?" Well, I don't use any - I think the apples are plenty sweet for me. 

I remember once when I was making jam. At the beginning, I thought the jam was pretty tasty, but decided to add fructose for others. I seem to have just kept adding & adding & adding more fructose, not really knowing when enough was enough. Looking back I really believe less is more.

You can make applesauce with even one apple if you like - it's worth it even or especially if you're cooking for yourself! You're worth it!!!

A special side-note: Back in 2003 I attended the National Storytelling Festival in Jonesborough, Tennessee. I stayed at a small bed & breakfast. The owner was this very special older woman who would fix breakfast for us. Every morning, before we rose, I could smell the apple aroma in her kitchen. She would simply slice up apples, blanch them in water & serve, slightly softened - delicious & one memory that will stay with me forever! 

Peace & Holiday Warmth,

Marcy Hope Williams


Monday, December 10, 2012

Just Like Mom Used to Make... Nah - Better! 

My mother used to make the most delicious Thanksgiving yams. I tried to duplicate them once when I had moved to Utah. Needless to say, they didn't taste like mom's. 

Did she leave out a secret ingredient? Was it the altitude difference? (she lived by the ocean) or was it just her expertise in cooking? 

I could never figure it out & finally gave up on most of mom's recipes. 
I can tell you though, mom's recipe for yams began with a can of yams.

Years later I found this recipe at Wild Oats, (now called Whole Foods) - 
a yam recipe from real yams! 

I've tweaked the recipe just a wee bit for my family's enjoyment. 
Just for variety & for the special holidays, I'll prepare these yams this way. 
My family is always excited to see them on the table. 
I hope you enjoy this recipe as much as we do.
 You'll find the recipe at the end of the pictures. 

Can I tell the difference between canned yams & yams from the garden  - you bet I can!


Here's my ingredients. 
The peppermint tea & cookie on the right aren't really a part of this recipe, 
just inspiration to help me cook when I'm hungry.  


1st - preheat oven to 375-400 degrees. 
I like to prepare my 9 by 13" glass pan by first spraying it with a light mist of Pam - 
you can use any type of oil to accomplish this.  
Personally I would rather take this precaution than having to do the scrubbing or soaking later. 


Peel the yams - I really don't wash them as I think they're clean under the skin. 


Here are the 5 yams all peeled. 


Slice them up 1/8 to 1/4" thick. If they're really large I either half them or sometimes quarter them. I like them quartered the best because they seem to be able to absorb the juices better. 


Scatter in pan. 


You'll combine the margarine, sugar & spices in a small sauce pan. 
Bring to a small boil, & quickly reduce to simmer until sugar dissolves. (sorry, missed this pic).
Spoon over yams.
Mix a bit. 


Cover with foil & cook for 55 minutes at 375-400 degrees.
Uncover, then cook another 20 minutes.
Sprinkle with optional nuts & brown for 3 minutes at 500 degrees.   


Voila! A yummy entree!


                               Candied Yams                                

Serves 8

5 medium to large yams (preferably organic)
4 1/2 T magarine
2/3 C golden brown sugar packed (preferably organic)
1 t ground cinnamon
1/4 t ground nutmeg
1/8 t ground ginger
1/2 t salt

Optional Toppings
1/2 c chopped pecans, or 1/2 c sliced almonds


Preheat oven to 375-400 degrees. Place potatoes in 9x13x2 inch glass baking dish. Combine margarine, brown sugar, cinnamon, nutmeg, ginger & salt in small saucepan over medium heat. Bring to boil & stir until brown sugar dissolves. Pour this mixture over yams & toss to coat. Cover dish well with foil.

Bake 50 minutes. Uncover & continue to bake until potatoes are tender & syrup thickens a bit (basting occasionally) about 20 minutes. Raise oven temperature to 500. Top yams with nuts & brown about 
3 minutes. 

Enjoy!


Saturday, November 10, 2012

Here Comes Santa Claus...

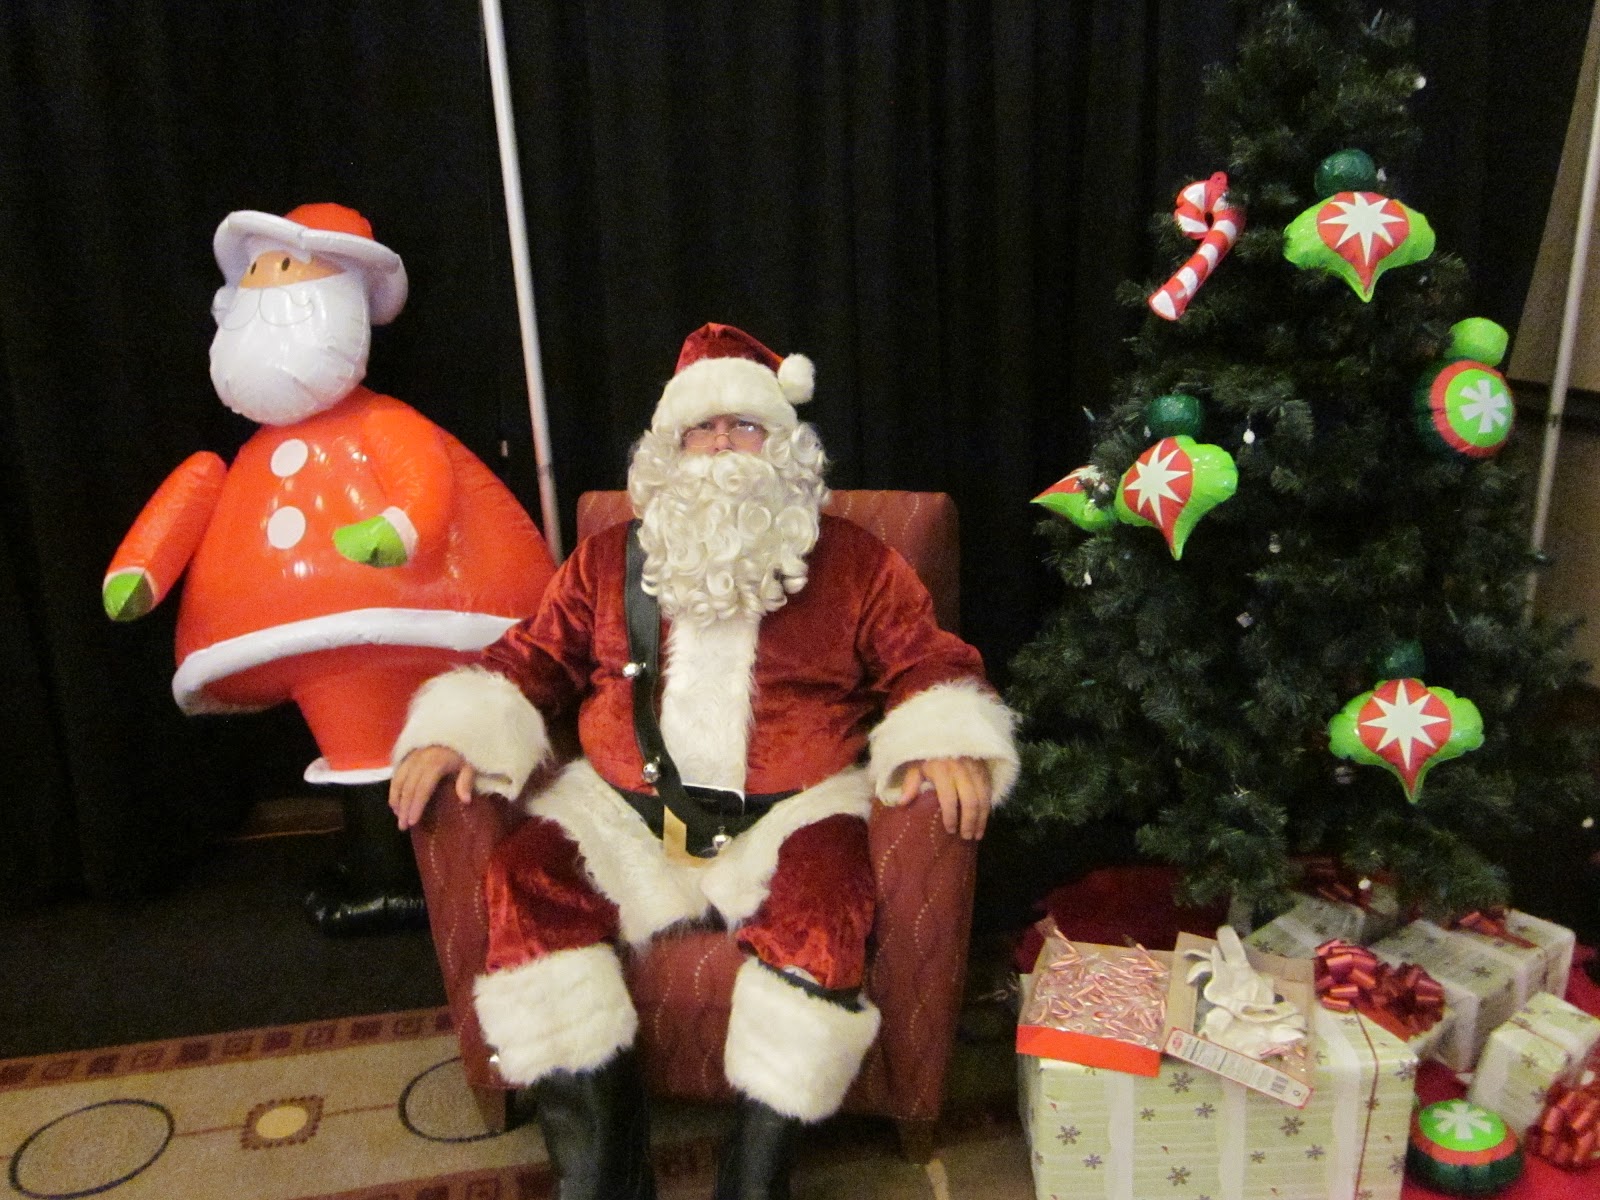
Welcome to the Riverwoods Christmas Faire

And here'ssssss Santa!


This was the 1st booth I visited - turned out that this gentleman's & my path have crossed many times before. Bill at 435-792-4380 is an authorized distributor for Berkey Water Filter Folks. 


These purifiers are different than anything I've personally used, and I have tried several unique filtering systems including even owning a water distiller in Hawaii - definitely on my Christmas list!


Berkey offers "Premium Stainless Steel Water Purifiers For Elegance and Lasting Quality. These Are Berkeys’ Finest Home, Group and Emergency Use Water Purifiers!" 
Please visit them at BerkeyWaterFilterFoks.com


These beautifully handmade baby booties come in 3 sizes. 
"The most popular size is the 6th month size," Sarah Natividad shares. 
The child will wear them the longest during this growing period. 

To check out many more colors & styles, please visit Sarah at curious-workmanship.com 


Megan Green at The Pampered Chef shared with us how to make this cute Christmas mouse.

The Bottom is an Oreo Cookie that has been iced.
The head is made from a chocolate dipped candy kiss.
Eyes are dots of frosting.
The tip of his nose is a dot of chocolate frosting. 
The ears are 2 sliced almonds. 
The back of the mouse is a chocolate dipped maraschino cherry - be careful to purchase the cherries with the stems attached. 
The red & green decorations on the base are just added frosting for a touch of holiday color & flair. 

Now, I know, there's not too much nutrition in this edible, but it sure is cute! 
One customer shared that she creates this mouse with her grandchildren 
and then reads them the story of the Christmas Mouse.
You can email Megan at chefmgn@gmail.com  


Dawna Zukirmi offered unique & beautifully-designed jewelry - my daughters & I couldn't resist!
Visit Dawna at:


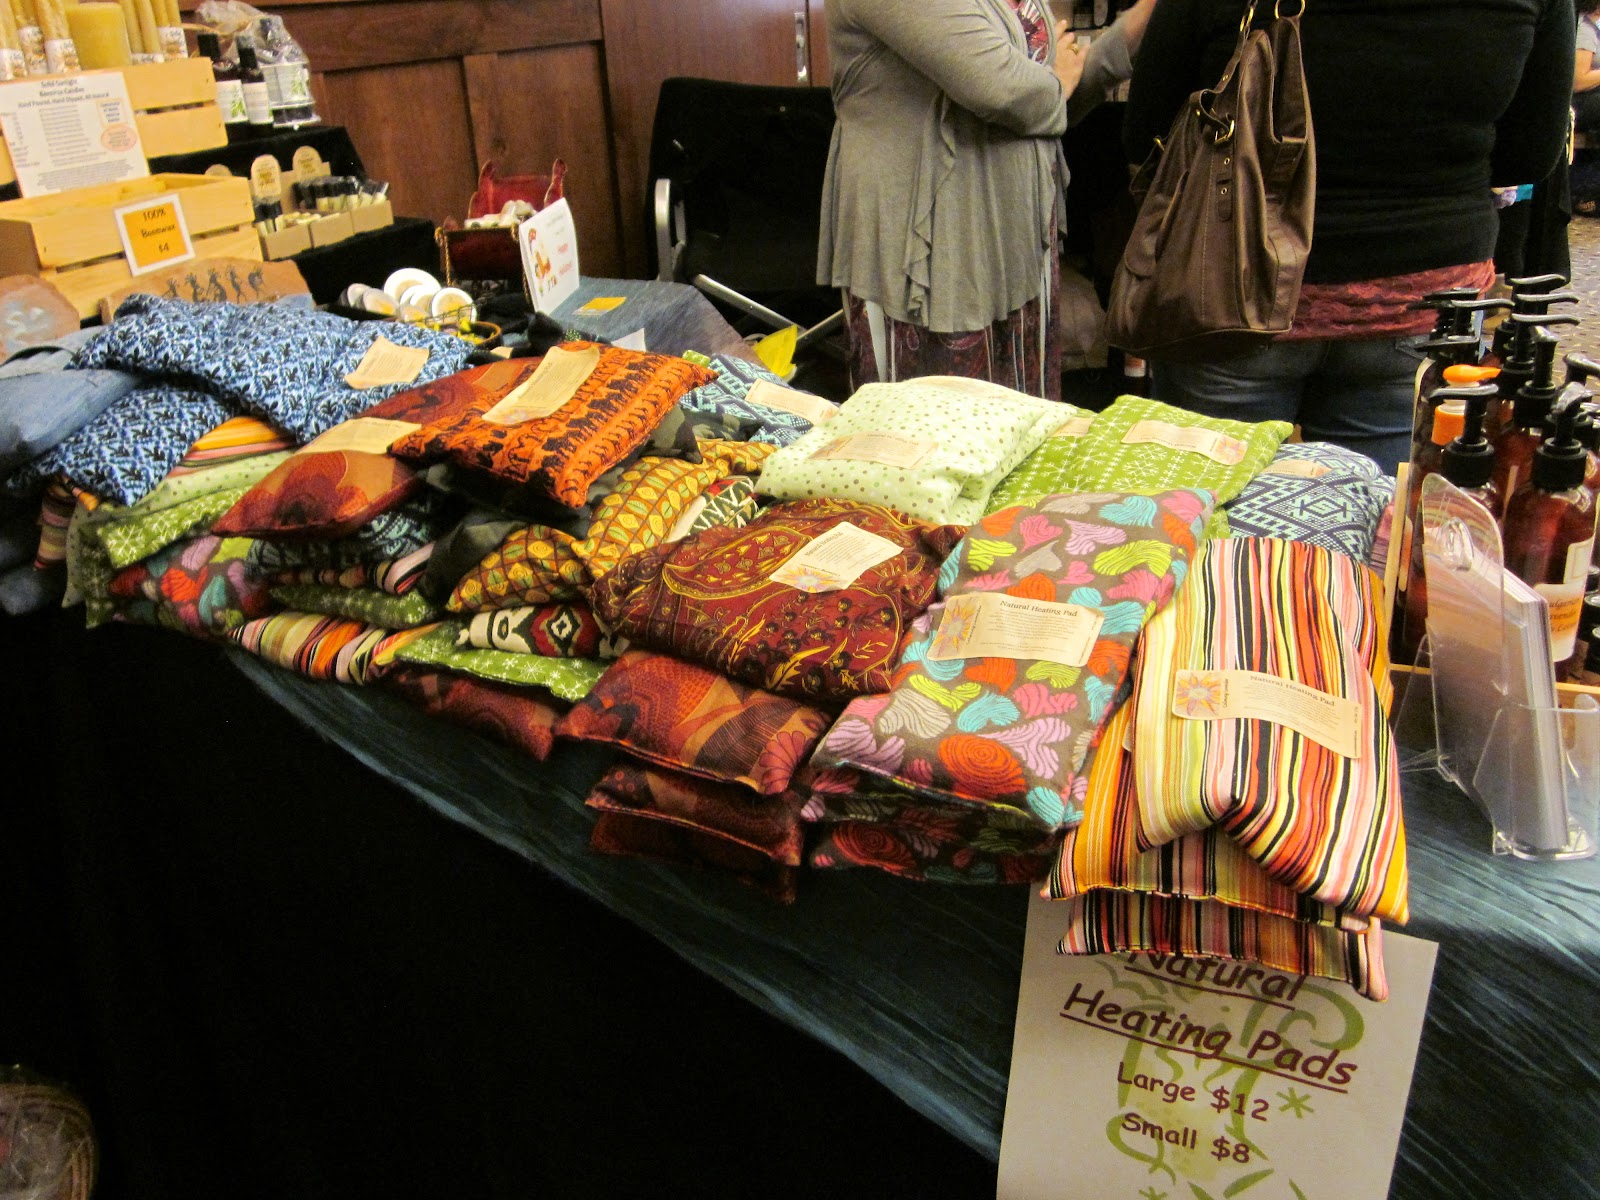
These hand-made heating pads were filled either with lavender or rosemary - the vendor even offered one with corn. Some customers liked the way the corn held the heat in better. These pads can be placed in the microwave for brief periods of time.


Definitely a fun place for children to gather - face painting & balloon art.
Contact Melissa Halvorsen at ThePaintedOtter.com

And how about a vendor creating holiday magic by giving the gift of snow?


And finally, just what we all needed to sit & enjoy a free massage. I was actually surprised at these pillows. They reminded me more of the motion of the water-massage beds, pretty soothing.


**********
BEST WISHES & HAPPY HOLIDAYS!
**********

FROM MARCY HOPE WILLIAMS